
Dry rubs are the secret ingredient behind tasty grilled meat. Still, knowing how to apply dry rub to ribs often make the biggest difference.
Applying your rubs and seasonings the right way will let you enjoy the full flavor of the spices. It will also enhance the flavor of the meat without being too overpowering.
So for this post, I will share my tried and tested method of applying the rub to ribs and almost every meat cut. Try it for yourself and see how flavorful your meals will be.
What’s a dry rub?
Before we proceed with the steps, let me explain first what a dry rub is for first-time grillers.
Unlike other rubs, dry rubs are literally a dry blend of seasoning that you rub into meat for flavoring. Basically, it’s any seasoning added to meat before cooking.
The good thing about this is that you can grill the meat right after applying the dry rub. Still, other grillers will wait for up to 24 hours, depending on the taste they want to achieve.
However, you should be careful in dry rubs with too much salt. Letting this rub sit for too long may cause the natural moisture of the meat to be drawn out.
In general, dry rubs are the opposite of wet rubs. Wet rubs are like pastes used for the same purpose of adding flavor to the meat. Usually, the spices are suspended in a type of oil or other liquids. However, wet rubs require you to let the meat sit until the spices are absorbed. It’s like a marinade for grilled food.
Overall, dry rubs can turn a boring meat cut into a mouth-watering treat. As they say, it can taste like a million bucks!
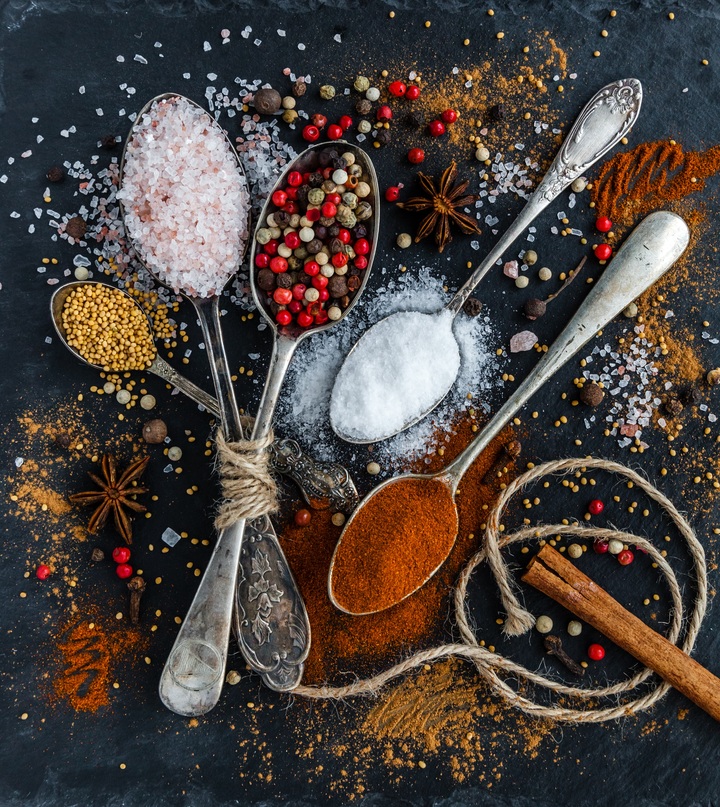
Depending on the blend you bought, your dry rub can be a combination of multiple spices. It usually includes salt, pepper, chili, garlic powder, paprika, and more. The sky’s the limit when it comes to spice combinations used for dry rubs.
How to apply dry rub to ribs
If this is your first time using a dry rub, don’t fret. It really takes practice to master the art of dry rubbing and grilling. To get you started, here are my quick steps that you can try:
Step 1. Choose your rib
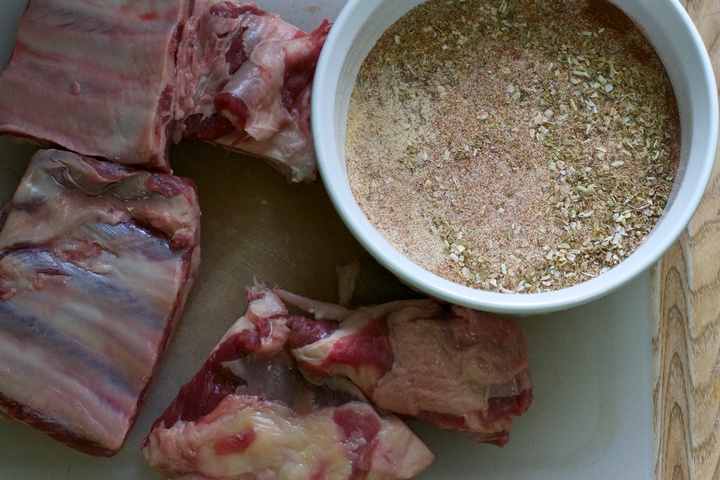
The ‘success’ of your first seasoned rib lies heavily on the quality of meat you’re going to get. Always get fresh ribs for the best taste.
Step 2. Pick your choice of dry rub
Next, you should pick the dry rub you wish to use on your ribs. Most grocery stores have pre-blended grilling gift sets that you can purchase at a small price. These are convenient, and you can find various blends to suit the taste that you like. Feel free to experiment on this part to find the flavor that you’d love.
If you’re grilling multiple racks of ribs, you should purchase large amounts of dry rub. You should do the same when applying rubs on large meat cuts. This way, the flavor will be absorbed well into the meat.
If you’re new to rubs, you can start with the basic mix of black pepper, garlic powder, salt, and paprika. You can also add chili for added spice.
Overall, it takes trial and error to find the taste that matches your palate. So if this is your first rib to grill, don’t worry if the rub doesn’t turn out as you expected.
Step 3. Preheat your grill
Now that you have all the ingredients, you can start preheating your oven. If you’re going to smoke your ribs, you should prepare the charcoal and flavored wood first.
Take note that this step is only applicable if you’re planning to grill your ribs right away. If you intend to let the rub simmer overnight, you can skip this step.
Step 4. Prep your ribs
To ensure that the rub will stick well to the ribs, you should prepare the meat first. Here are a few steps you need to take:
Thaw the ribs. If you stored the ribs in the fridge, take them out and let them thaw.
Rinse the ribs. You should also rinse the ribs on the sink using tap water. This will help thaw the frozen parts while removing any contaminants. Make it a habit to wash all meat, not just ribs, you buy from the store. This is also whether you’re planning to grill it or not.
Blot it dry. After rinsing, you need to blot the ribs using paper towels. This is to remove excess moisture that will disrupt the next step.
Apply olive oil. The last step before applying the rub is to coat the ribs with olive oil. Apply a generous amount of olive oil and massage it through the meat. If you don’t want to get messy, you can also apply the oil using a brush.
Step 5. Apply the rub using the wet hand/dry hand method
The next step is to apply the rub using the wet hand/dry hand method.
In this method, the wet hand is the one that will rub the seasonings into the meat. Meanwhile, the dry hand is the one to sprinkle the seasoning. It doesn’t matter which hand is which – whatever floats your boat.
Here are my quick tips:
- Sprinkle the spices, then rub them into the meat alternately. This way, you can measure how much more rub you need for the ribs.
- Take note that it’s called a rub for a reason. You really need to rub the spices in vigorously so it sticks into the meat. Don’t be shy about it – knead it like mad as long as you’re not ruining the rack.
- If you’re also grilling large meat cuts, you should apply the rub on both sides. Also, you can use your fist to press the dry rub into the meat. This way, the flavoring gets absorbed well, and you’ll have better tasting grilled ribs later.
- Watch over the amount of rub. My rule of thumb is to apply one tablespoon of rub in every pound of rib. If you’re planning to use wet rubs, you can mix equal parts of liquid with your choice of seasoning. I don’t recommend applying a very thick rub as the outer layer often gets burned and bitter.
Step 6. Let it sit for a few hours
Dry rubs are suitable for immediate grilling. So if you can’t wait any longer, you’re free to toss the rib into the grill, smoker, or oven right away. To be honest, I can’t tell the difference between 5 minutes and 5 hours of letting the rub settle.
Still, letting the dry rub settle on the rib will allow the flavor to rich the center. In the end, leaving the rub on overnight will surely make your ribs taste better.
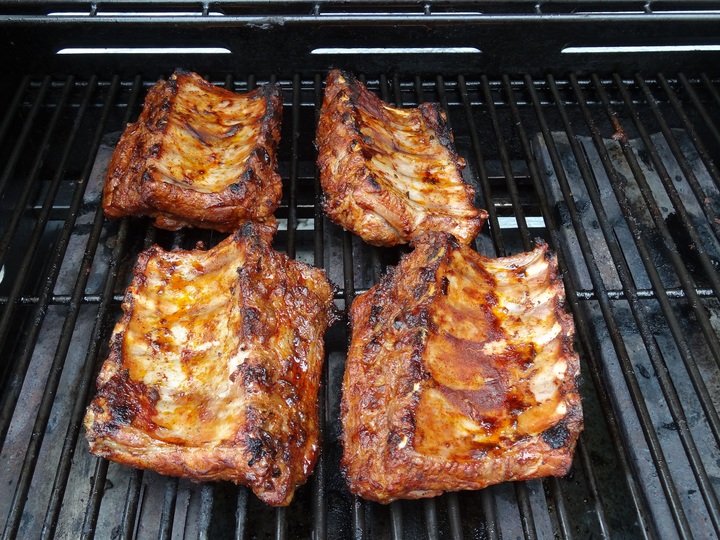
Step 7. Start grilling!
Once you’re happy with the rub and waiting time, you can now start grilling your rib racks. In general, your ribs will be ready to serve after 1.5 hours of grilling, depending on the temperature you use.
However, many prefer slow-baking or smoking in low temperatures. This way, the meat falls off the bone.
Whatever grilling method you use, you’d like your ribs to be tender. It should be easy to pierce with a fork. If the ribs feel stiff, it’s likely dry, chewy, and hard to eat.
My dry rub won’t stick!
A common problem when applying dry rubs is the fact that they won’t stick on the meat right away. The meat might be still moist, which can be fixed by blotting it with paper towels.
But if the rub just won’t stick, here are a few solutions you can try:
- Coat it with mustard first. Coating the ribs with mustard will give you a sticky surface to allow the rub to cling. The best part is that the mustard itself will add flavor to the meat.
- Or try Worcestershire sauce. If you don’t like the taste of mustard, you can use Worcestershire sauce as an alternative. This is flavorful and will allow the rub to stick to the meat. Overall, this works like a charm, whether it’s for your rib rack or other meat cuts.
- Apply oil. As mentioned earlier, you should coat your ribs with oil first before applying the rub. The oil will serve as a binder so the rub won’t fall off as you prepare the meat.
- Use butter. In case you don’t have Worcestershire sauce or mustard, you can use butter instead. You can rub it into the rib until the butter melts. This will work just the same as oil but stickier, which is a good thing for your dry rub.
My simple yet effective ‘rib hacks’
Aside from applying the dry rub properly, I also want to share these simple hacks, so you’ll cook the best ribs. Try it and see for yourself:
- Remove the silver skin. The silver skin or whitish membrane is found on the underside of the ribs and must be removed since it has a leathery texture. You can use a table knife to lift the silver skin from the meat. Afterward, you can peel it off or skin it using a sharp knife.
- Watch your ribs! If you want to taste the best ribs, you’ve got to babysit it while grilling or baking. This is because you have to check for the first signs of hotspots. When that happens, you need to spray water into the spot to prevent it from burning. Also, you wouldn’t want your ribs to catch fire.
- Let it rest. After cooking your ribs, make sure that you let them rest for 15 minutes. This is to allow the juices to settle so that the meat will taste better.
- Set the hot coals on one side. When grilling ribs, you should keep the hot coals on one side and not directly under the ribs. You’ll add more hot coals only when the first batch is already getting cool. This way, you can slow cook your ribs to keep them tender.
- Don’t boil the ribs. I know not everyone will agree with me on this one, but boiling the ribs before grilling is cheating. Aside from that, it will remove the meat’s natural juices, making your ribs less flavorful.
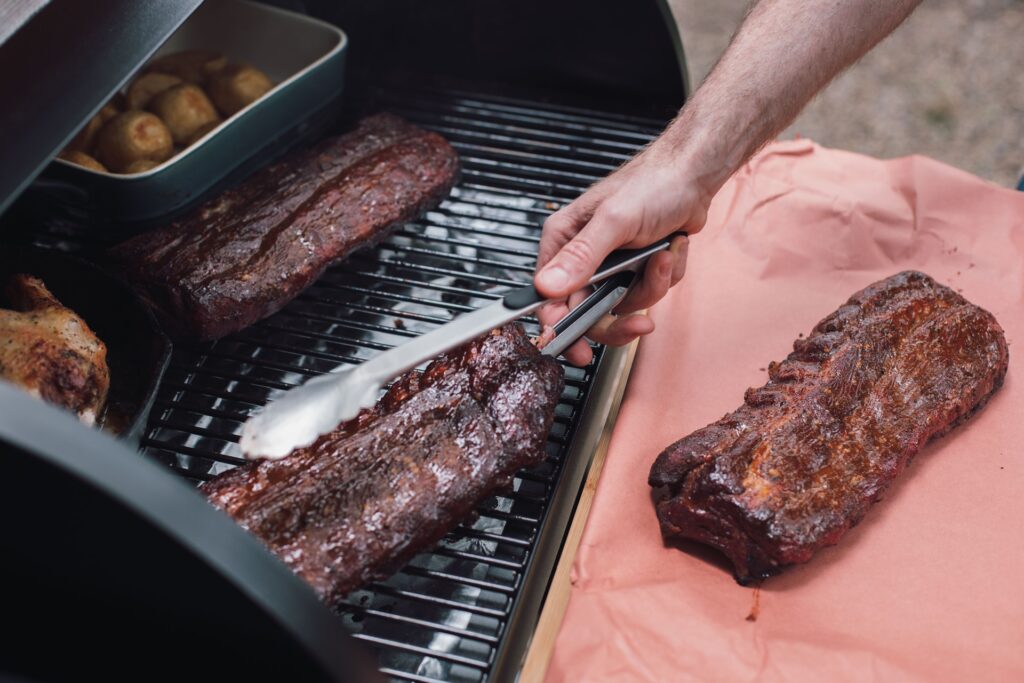
- Prepare the right sauce. Even the best-tasting grilled ribs deserve an equally mouth-watering sauce. You should also rub the sauce on the ribs as it cooks. This will lock in the flavor for a richer taste.
Frequently Asked Questions
Q: Can you leave a dry rub on pork?
A: You can leave a dry rub on pork for up to 24 hours, so the flavor gets absorbed into the meat thoroughly. But if you don’t have the time, 30 minutes would be enough. After applying the dry rub, you can also grill right away, but it won’t yield the best taste.
Q: Should I wrap my ribs in foil when smoking?
A: If you’re planning to slow cook your ribs for more than two hours, you should wrap them in foil. This will ensure even cooking while preventing the ribs from getting burned. You should do this for baby back ribs since it takes a while to cook.
Q: Why are my smoked ribs too dry?
A: If your ribs are too dry, that means your smoker was too hot. The excessive heat draws out the moisture from the meat, leaving it dry and stiff. This is why you should monitor the temperature of your smoker throughout the cooking process.
Q: How do you make ribs more tender?
A: If you want more tender ribs, you should bake them at a low temperature in the oven. Overall, baking your ribs for around two hours in 275F is a guaranteed way to have ribs that fall off the bone. Make sure that you also get newly butchered ribs, so the juices of the meat are all intact.
Q: Should you put salt in a dry rub?
A: Salt is the main seasoning in dry rubs. Most of the time, it makes up half of the mix. This helps add flavor to the meat while also drawing out the inner moisture, so your ribs will come out juicy after grilling.
Final words
Knowing how to apply dry rub to ribs is the key to a delicious result. Aside from the proper method, you should also choose your rubs wisely to achieve the flavor that you like.
Overall, it takes a few tries to nail the right flavor and tenderness of your grilled ribs. Also, you shouldn’t hesitate to experiment as ribs are very versatile meat cuts.